iOS App with CocoaPods Test Automation with GitHub Actions CI

If you write tests for your app at some point you will want to run them in an automated way to increase the effectiveness and ease of use of your tests. When already hosting your project on GitHub, then GitHub Actions is the easiest way to add CI (continuous integration) to your app project.

GitHub Actions workflow file (iOS CI)

Triggers

The workflow is triggered for each commit to the main branch and also for each PR (Pull request) to main. It can be changed to your liking. Triggers for github

Caching

To speed of the workflow is added especially when using Cocoapods this help a lot. The key specifies which cache to look for. When using the hashed Podfile.lock file the cache is used from another build with exactly the same Podfile.lock file. The restore-key is used as an alternative if an exact key match couldn't be found

CocoaPod Install

This step is only needed when using CocoaPods when using SPM (Swift Package Manager) this step can be omitted.

Build

The build step is no requirement for the test step to work but I always like to see if the Release configuration of the app even builds in the neutral environment of the build server. This way can be ensured that there a no dependencies of the project that weren't pushed to the repository.

Test

The actual test step running the tests. It is important to specify -workspace attribute with your YourAppName.xcworkspace (this is only needed when using CocoaPods). Also specify the scheme to be run with the -scheme attribute. GitHub Actions unfortunately only supports simulators so that is why only the simulators are targeted.

Special Mention

This script was developed for the XPO App. Go check out the app.
Floating Action Button - Hide on scroll down - SwiftUI

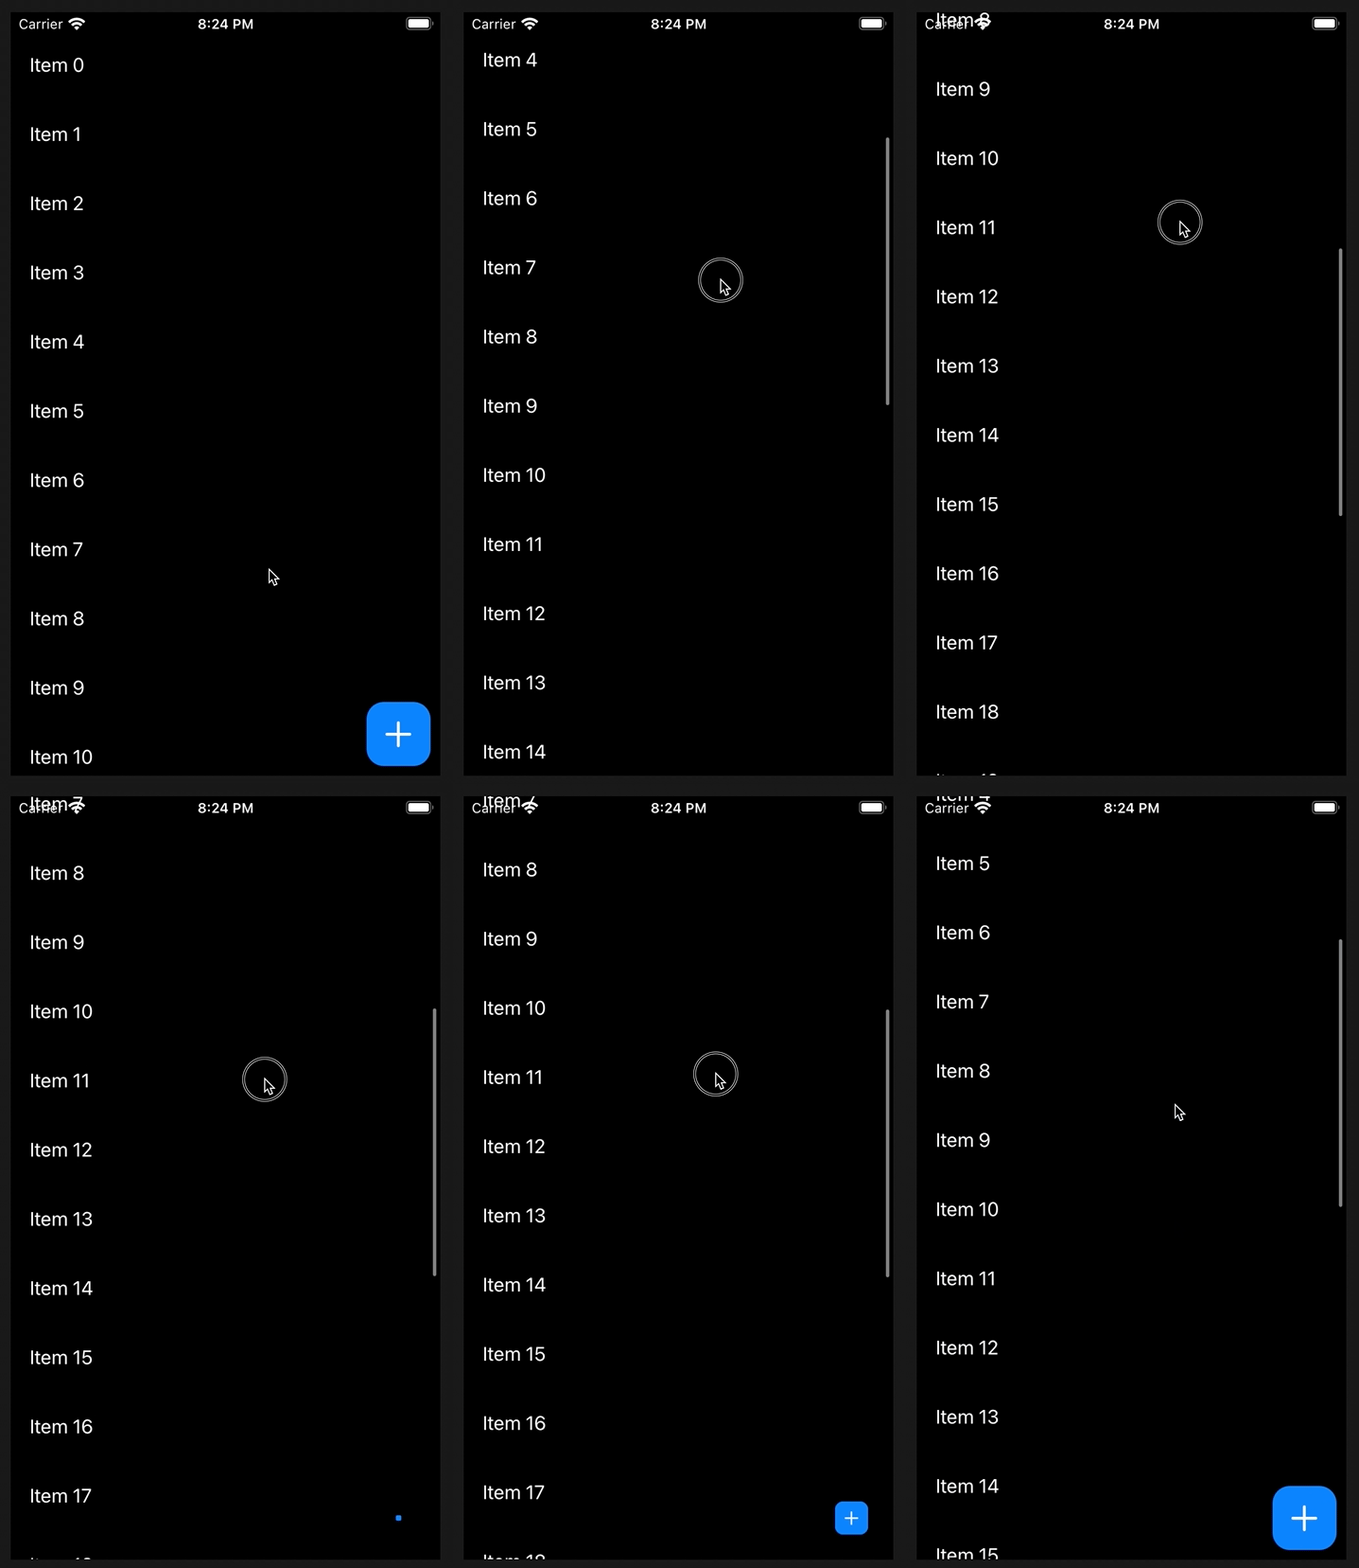
I wanted to create a floating action button in SwiftUI which disappears or hides when scrolling down. For that a few tricks where needed.

FabDemo.gif

Final Look

It is not possible to get the ScrollEvent directly from SwiftUI so the trick is to use a transperant GeometryReader which changes its origin position compared to a defined coordinate space (inspired by this) when scrolling down. When using the origin as offset I can simply determine whether the user scrolls up or down. Here is the code:

Note: I still have a small inconsistency when scrolling to the bottom of the list as the overscroll of the ScrollView causes the last action to be a scroll up which leads to that the Floating action button is showing up when scrolled all the way to the bottom.

Get photo metadata with PHPicker in SwiftUI

With iOS 14.0 a new photo picker PHPicker was introduced. In this post I will show you how to get and show photo metadata, the PHAsset, containing information like creation date and the location of where the photo was taken, in SwiftUI.

When using the PHPickerViewControllerDelegate the metadata can be obtained the following way:

Screenshot 2020-10-18 at 11.05.07.png

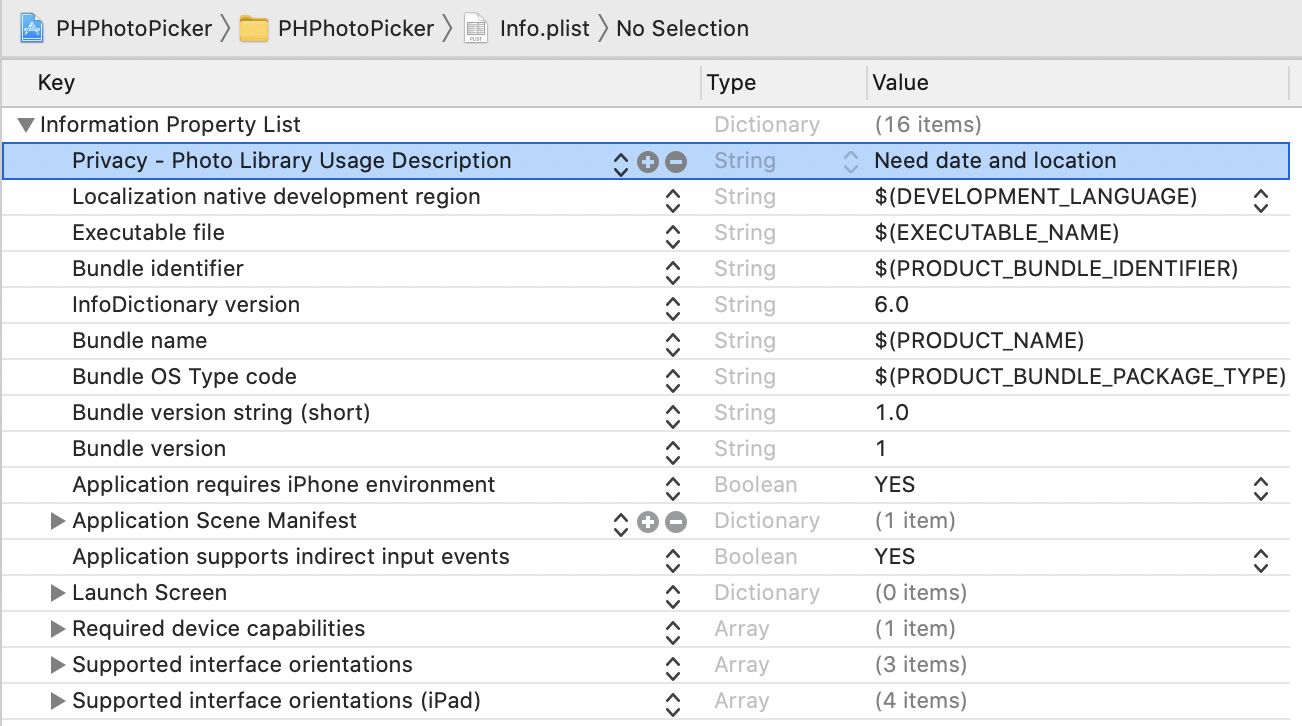
Make sure to add the Privacy - Photo Library Usage Description key to the Info.plist file

Simple CustomPhotoPickerView example

I created a full example app of how to get and display photo metadata with the new PHPicker in iOS 14.

It can be cloned here:

Link to GitHub repo at simple branch which only contains the basics.

Link to GitHub repo at main branch which has the UI shown here.

Simulator Screen Shot - iPhone SE (2nd generation) - 2020-10-18 at 07.23.41.png

As the PHPickerView is a UIView the UIViewControllerRepresentable protocol must be used for using it with SwiftUI.